
Creating Accessible PDF Files
A PDF document may contain logical structure information that allows the information to be accessible to vision or hearing impaired users. This is called a “Tagged PDF” file. Converting a file to a tagged PDF document is simple.
Create the file in Microsoft Word:
- Avoid using Microsoft Publisher. Publisher does not allow users to save files as a tagged PDF document. This will cause more accessibility issues which will require more of your time to make repairs; some of which can be very difficult or impossible.
- Use Microsoft Word to create your files. PowerPoint converts to tagged PDF format very well. Excel files can be converted to tagged PDF format; however, layout/content/structure should be in the simplest form possible. If this cannot be done, the file may not be accessible.
- Simplicity. Keep content as simple as possible.
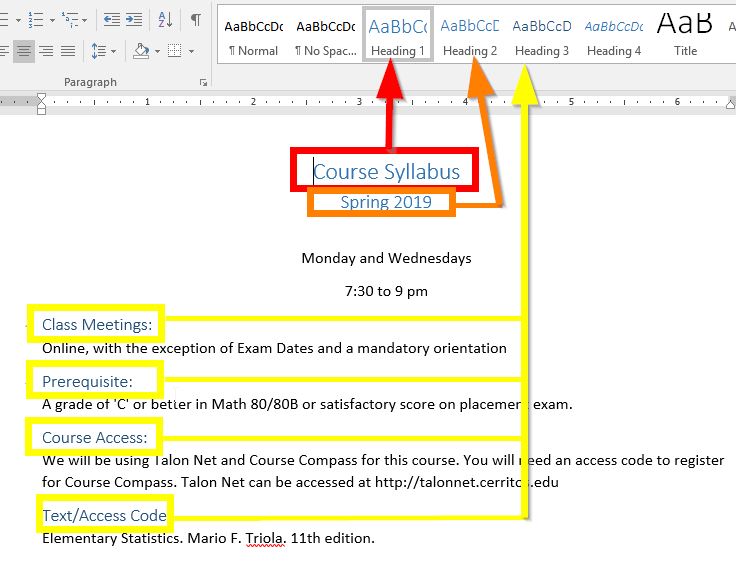
- Use Styles. Use styles to format text such as titles, headings, and paragraphs.

- Heading styles should be used to make logical divisions in your document. Heading
styles must be used in chronological order from Heading 1 to Heading 6. You cannot
skip from one heading to another (Heading 1 to Heading 3). You should start with
Heading 1 at the top of your document (most important) and use lower heading numbers
as you make your way down the document (less important).
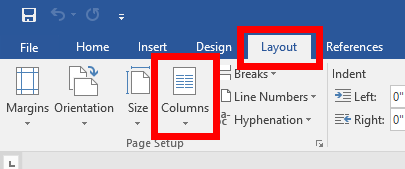
- Columns command. Use the columns command to create columns instead of tables.
Images:
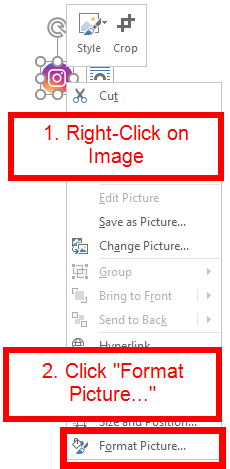
Image descriptions. Provide alternate text for all images – you can do this by viewing the image properties. Review some tips on how to write image descriptions.
- Right-click the image then click "Format Picture":
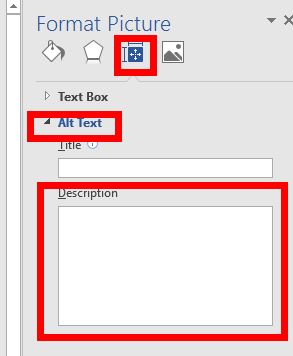
- Click the "Layout and Properties button" then "Alt Text" to reveal the "Description"
field. Provide a short description of the image. Review some tips on how to write image descriptions.
Tables:
Tables should only be used to present information in data format.
- Do not use tables to layout content on your page.
- Do not merge table cells.
- Every table cell should contain content:
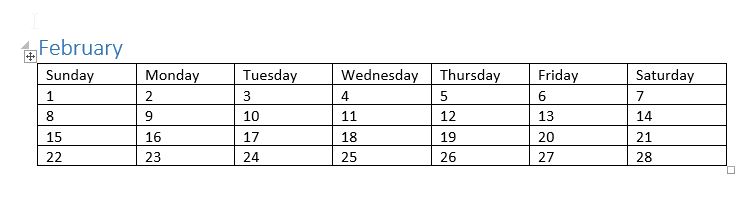
- Every table must include a 'header row'. To include a 'header row' in your table,
do the following:
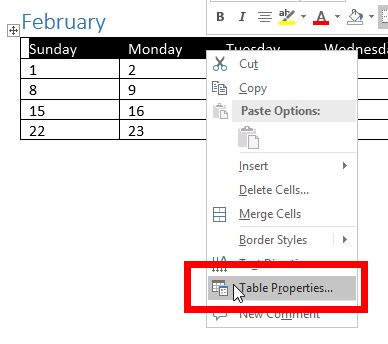
- Highlight and right-click the top row in the table to open the short-cut menu. Click
the 'Table Properties...' option:
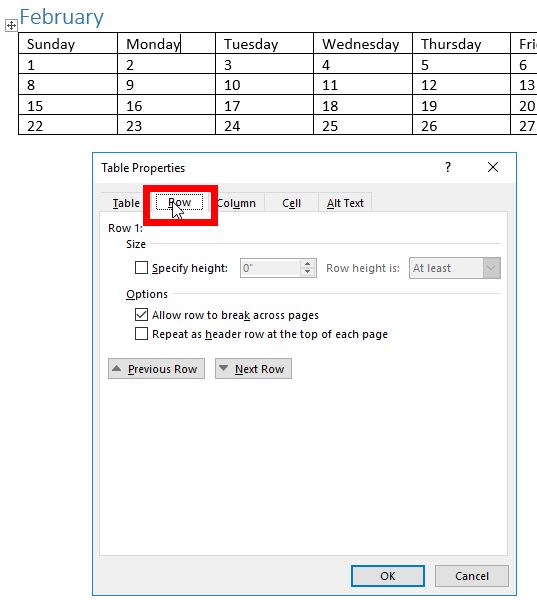
- Click the "Row" tab in the Table Properties dialog box:
- Place a check in the check box next to 'Repeat as header row at the top of each page':
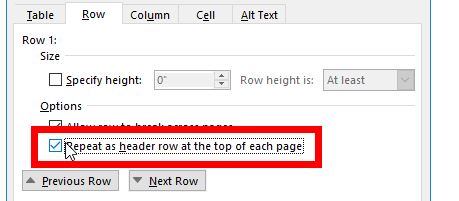
- Click the 'OK' button to confirm.
- Highlight and right-click the top row in the table to open the short-cut menu. Click
the 'Table Properties...' option:
Supply a title:
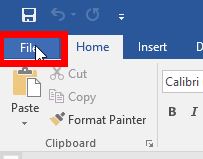
- Provide a title for the file before converting to PDF format. Click "File" tab:
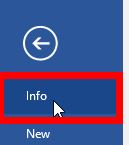
- Click the "Info" tab:
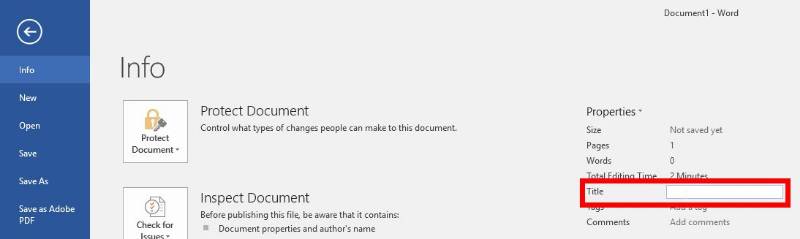
- Provide a title in the "Title" input field under "Properties" on the far right:
Convert files to PDF format:
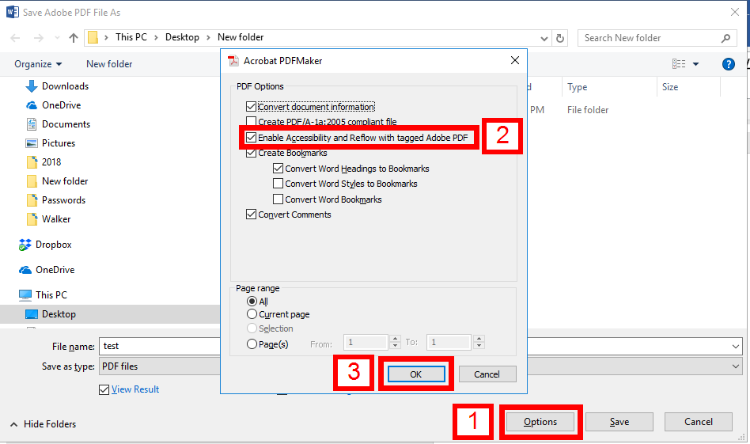
- If converting from MS Word, check "Save As" settings to make sure that a Tagged PDF
will be generated.
Check accessibility:
Open the PDF file in Adobe Acrobat Pro and run the Accessibility Check tool to check and repair any accessibility errors.
Locate Accessibility Checking Tool:
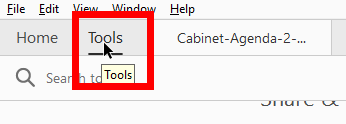
- Click the "Tools" tab in Adobe Acrobat Pro:
- Scroll down the list of tools to find the "Accessibility" tool under the "Protect
& Standardize" section:
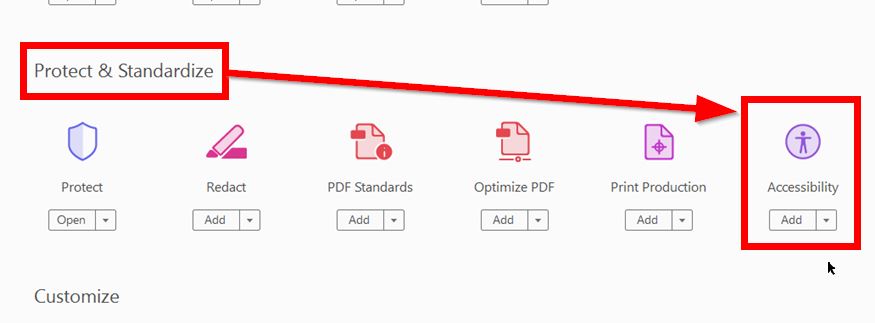
- Click the "Add" button:

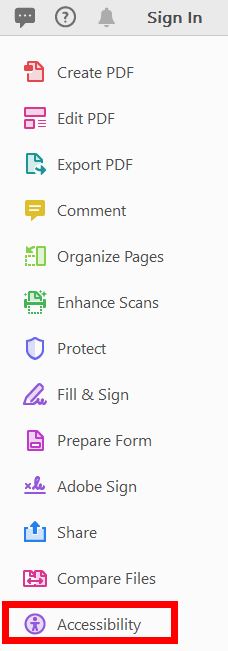
- The "Accessibility" shortcut button will be added to the shortcut panel on the right:
Check document for errors:
- Open the PDF document in Adobe Acrobat Pro.
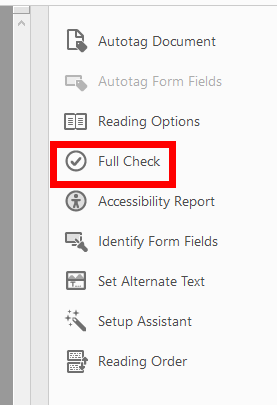
- Click the "Accessibility" tool on the tools panel.
- Click the "Full Check" option:
- The "Accessibility Checker Options" dialog box appears. Make sure that "Checking Options"
shows "32 of 32 in all categories" appears.

If "Checking Options" shows less than 32 of 32 in all categories than click the drop-down menu to make sure that all check boxes are checked. If a check box is not checked, click on the check box to add a check mark in the check box.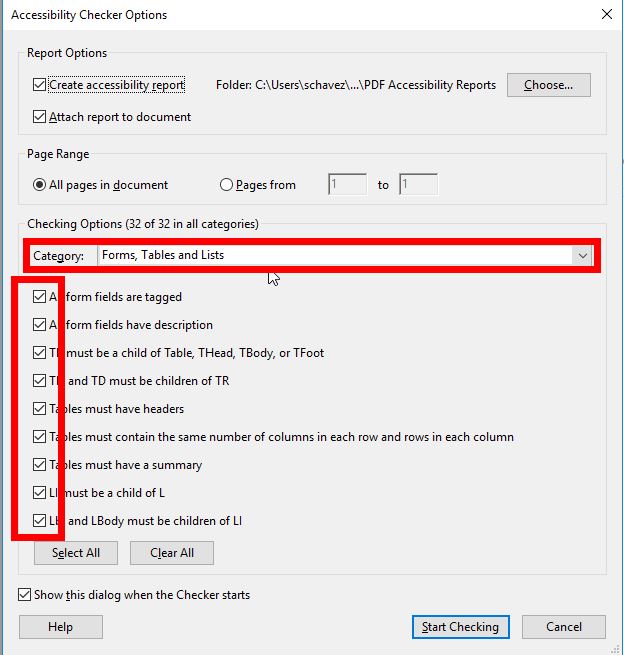
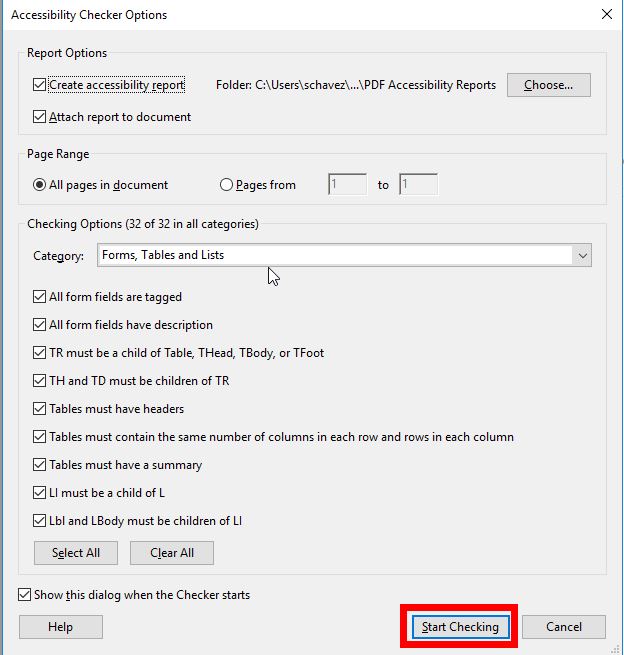
- Click the "Start Checking" button:
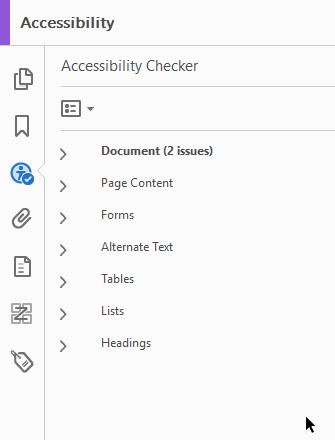
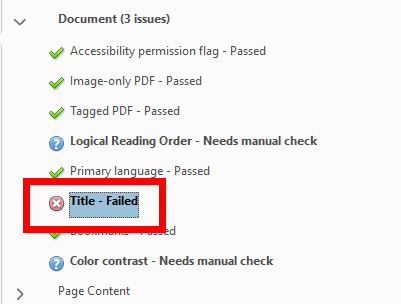
- An accessibility report will instantly appear on the far left panel:
Fixing Common Errors:
Title Failed:
If you provided a title in Microsoft Word, you can easily fix the "Title - Failed" issue by doing the following:
- Right-click the "Title - Failed" note to open the short-cut menu. Click "Fix":
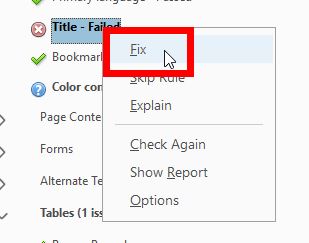
- The accessibility report will show as "passed":
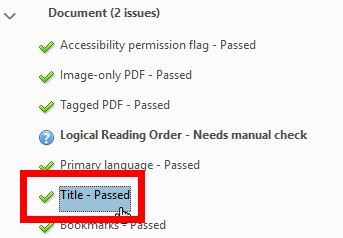
Table Summary Missing:
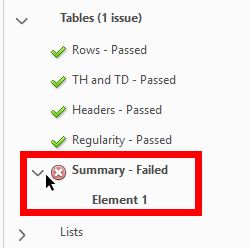
To provide a table summary, do the following:
- Click "Element 1" (if there are additional tables in the document, Acrobat will indicate
them as "Element 2, Element 3, Element 4, etc...")

- The table will be selected:
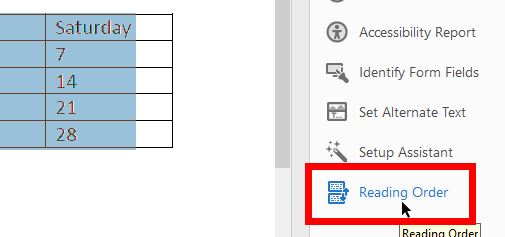
- Click "Reading Order" option on the tools panel (usually located on the far right):
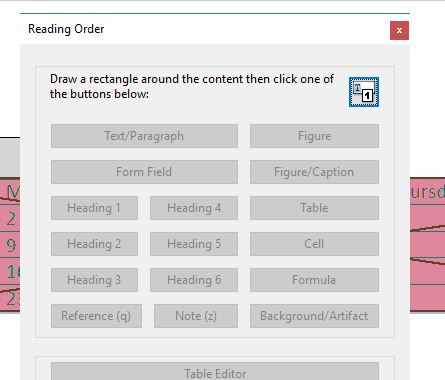
- The "Reading Order" dialog box appears over the table:
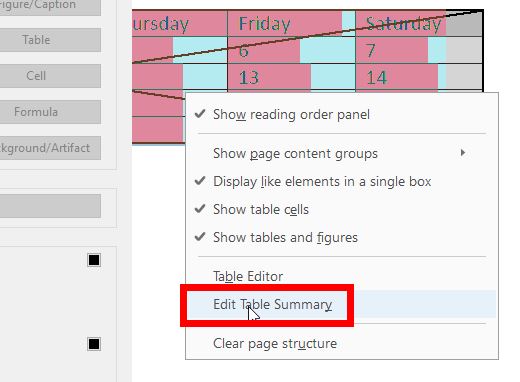
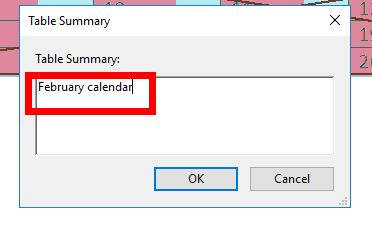
- Right-click the table to open the short-cut menu. Click "Edit Table Summary":
- The "Table Summary" dialog box appears. Provide a summary for the table and click
the "OK" button to close the dialog box:
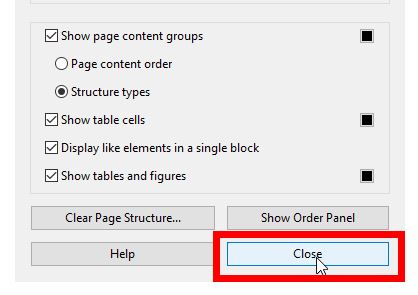
- Click the "Close" button on the "Reading Order" dialog box:
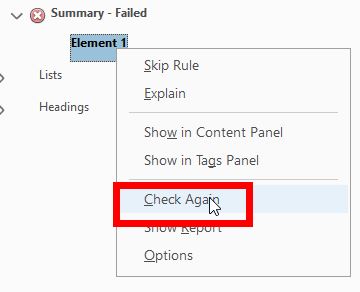
- Right-click "Element 1" in the Accessibility Report and click "Check Again":
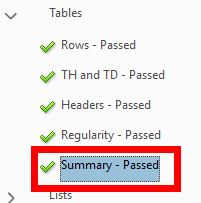
- The accessibility report will show the table summary as "passed":
Additional Information:
Please review the information on the following pages for more information about creating accessible documents:
- Web Aim: http://www.webaim.org/techniques/acrobat/
- High Tech Center Training Unit: http://www.htctu.net/trainings/manuals/web/CreatingAccessibleAA8.pdf
- Adobe: https://helpx.adobe.com/acrobat/using/creating-accessible-pdfs.html
- Center for Teaching Excellence: https://www.cerritos.edu/ic/Accessibility.htm
Stay Connected